Check Image DPI Online Free – Best Image DPI Checker Guide (2026)
Have you ever uploaded an image for printing or a website and wondered if its quality is good enough? That’s where an image DPI checker becomes essential. DPI (dots per inch) determines how sharp and detailed your image appears, especially in printing and high-resolution displays.
Whether you're a designer, developer, photographer, or even a student preparing documents, checking DPI can save you from blurry prints or pixelated visuals. The good news? You don’t need complex software anymore. With online tools, you can instantly analyze image DPI in seconds.
In this guide, we’ll walk you through everything you need to know about DPI, how to check it online, the best tools to use, and practical tips to ensure your images always look professional.
What is Image DPI Checker
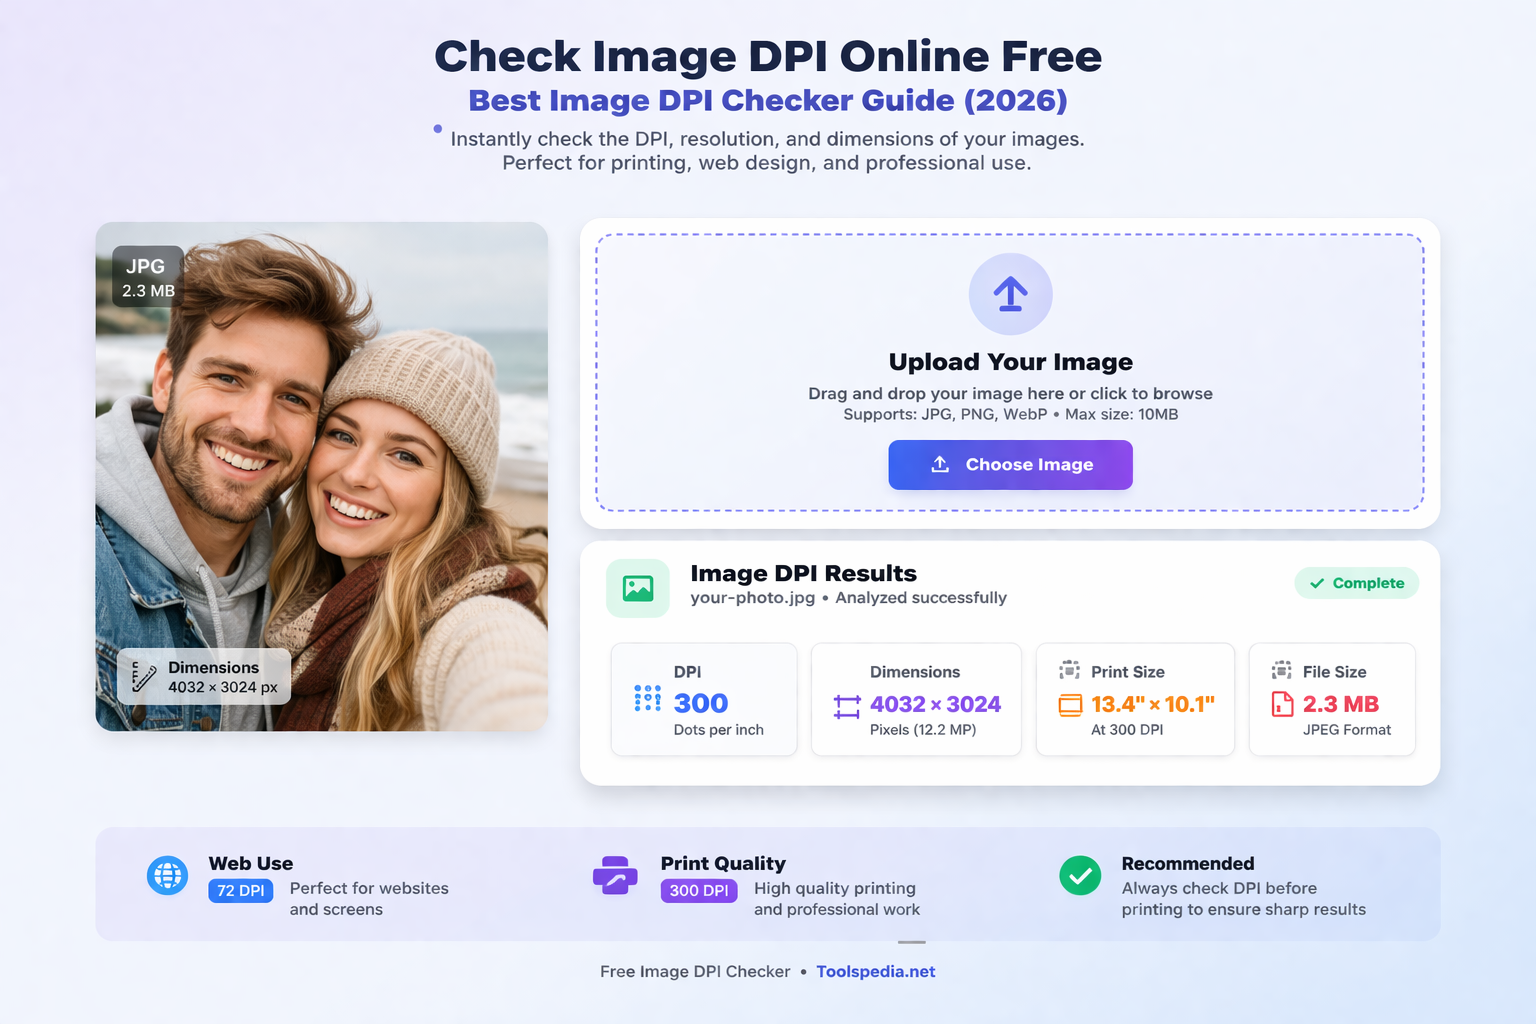
An image DPI checker is a tool that helps you determine the resolution of an image in terms of dots per inch. DPI indicates how many pixels are packed into one inch of an image when printed.
For example:
- 72 DPI – Suitable for web use
- 150 DPI – Medium quality prints
- 300 DPI – High-quality professional printing
These tools analyze image metadata and display resolution details such as DPI, pixel dimensions, and sometimes physical print size.
If you want deeper metadata insights, you can also explore the Image Metadata Editor to view and modify hidden image information.
Why It Is Important
Understanding DPI is crucial for both digital and print workflows. Many people confuse DPI with image size, but they serve different purposes.
Here’s why DPI matters:
- Print Quality: Low DPI results in blurry prints, while high DPI ensures sharp images.
- Professional Work: Designers and photographers rely on DPI for client deliverables.
- File Optimization: Avoid unnecessarily large files while maintaining quality.
- Platform Requirements: Some platforms require specific DPI for uploads.
If you're optimizing images for websites, you might also find this guide helpful: Image Optimization Guide.
Step-by-Step Guide
Checking image DPI online is quick and requires no technical expertise. Follow these simple steps:
Step 1: Open an Online DPI Checker
Visit a reliable tool like the Image DPI Checker.
Step 2: Upload Your Image
Select the image from your device. Most tools support formats like JPG, PNG, and WebP.
Step 3: Analyze the Data
The tool will instantly display:
- DPI value
- Pixel dimensions
- Image size
Step 4: Take Action
If your DPI is too low, you can resize or enhance your image using tools like the Image Resizer.
Step 5: Download or Edit
Some tools allow you to adjust DPI settings before downloading.
This entire process takes less than 30 seconds, making it perfect for quick checks.
Best Tools to Use
Here are some of the best tools you can use to check and optimize image DPI:
- Image DPI Checker – Fast, accurate, and user-friendly tool for instant DPI analysis.
- Image Metadata Viewer – Great for viewing detailed image properties including DPI.
- Image Resizer – Adjust dimensions and improve resolution.
- Image Compressor – Reduce file size without losing quality.
- Social Media Image Resizer – Optimize images for different platforms.
For resizing images specifically for social platforms, check out this detailed guide: Resize Image for Instagram.
Tips and Best Practices
To get the best results from your images, follow these practical tips:
- Always check DPI before printing: Aim for at least 300 DPI for professional prints.
- Use the right format: PNG and TIFF maintain higher quality than JPEG.
- Don’t rely on scaling alone: Increasing DPI without increasing pixels won’t improve quality.
- Optimize for web: Use 72 DPI to reduce load time while maintaining clarity.
- Keep backups: Always keep the original image before editing.
A common real-life example: If you upload a low DPI image for a brochure, it may look fine on screen but appear pixelated when printed. This small step can prevent costly mistakes.
Common Mistakes
Many users misunderstand DPI, leading to poor image quality. Avoid these mistakes:
- Confusing DPI with resolution: DPI relates to printing, while resolution refers to pixel dimensions.
- Upscaling low-quality images: This doesn’t add real detail.
- Ignoring metadata: Important details like DPI are stored in metadata.
- Using incorrect settings for print: Always confirm requirements with printers.
- Over-compressing images: This reduces both DPI and visual quality.
Understanding these mistakes can significantly improve your workflow and final output.
Conclusion
An image DPI checker is a simple yet powerful tool that ensures your images meet the right quality standards. Whether you're working on a website, social media post, or print project, knowing your image DPI helps you avoid blurry results and maintain professionalism.
With free online tools, checking DPI has never been easier. Just upload your image, analyze the details, and make adjustments if needed. By following the tips and avoiding common mistakes, you can consistently produce high-quality visuals.