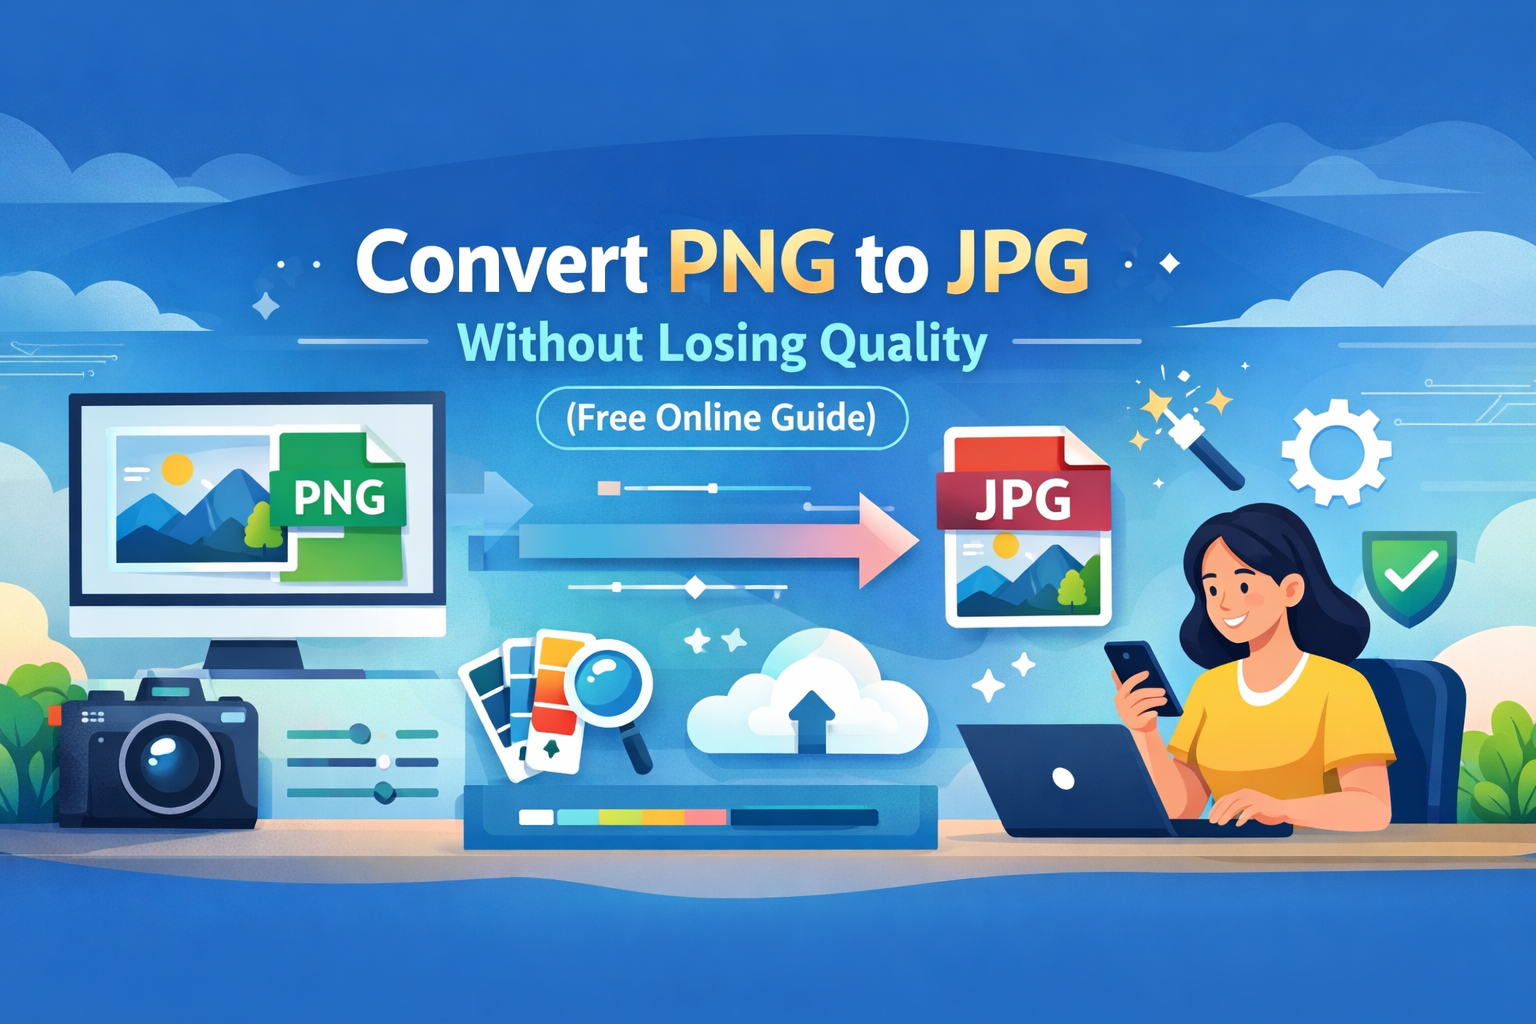
Convert PNG to JPG Without Losing Quality (Free Online Guide)
Images play a big role in website performance, user experience, and even SEO rankings. But many people struggle with one common problem: how to convert PNG to JPG without losing quality. PNG files are often large and not ideal for websites, while JPG files are smaller and load faster. However, if you convert incorrectly, you can end up with blurry or low-quality images.
In this guide, we’ll walk you through everything you need to know — from understanding the difference between PNG and JPG to using the best tools and techniques. Whether you are a blogger, developer, or business owner, this guide will help you keep your images sharp while improving website speed.
What is Convert PNG to JPG Without Losing Quality (Free Online Guide)
Converting PNG to JPG means changing an image format from PNG (Portable Network Graphics) to JPG (Joint Photographic Experts Group). PNG files support transparency and high detail, but they are usually larger in size. JPG files use compression, which reduces file size while maintaining acceptable visual quality.
The challenge is to balance compression and quality. If you compress too much, the image looks pixelated. If you compress too little, the file size stays large. This guide focuses on achieving the perfect balance so your images remain clear while being optimized for speed.
Why it is important
Converting PNG to JPG properly can make a big difference, especially for websites. Large images slow down page load time, which can negatively affect user experience and SEO rankings.
For example, if you run an eCommerce store, slow-loading product images can cause users to leave your site. On the other hand, optimized JPG images load quickly and keep users engaged.
It also helps reduce bandwidth usage and improves performance on mobile devices. Tools like the Core Web Vitals Snapshot can show how image optimization impacts your website speed.
Step-by-step guide
Here is a simple process to convert PNG to JPG without losing quality:
Step 1: Choose a reliable tool. A good option is the PNG to JPG Converter.
Step 2: Upload your PNG image. Make sure it is high-resolution for better results.
Step 3: Adjust quality settings if available. Keep compression moderate (around 70–90%).
Step 4: Convert the file. The tool will process and generate a JPG version.
Step 5: Download and preview the image. Check for sharpness and clarity before using it.
This process usually takes just a few seconds but can significantly improve your website performance.
Best tools to use
Using the right tools is key to maintaining quality. Here are some recommended tools from Toolspedia:
- PNG to JPG Converter – Simple and fast conversion tool.
- Image Compressor – Reduce file size without visible quality loss.
- Image Resizer – Resize images before conversion for better optimization.
- JPG to WebP Converter – Further optimize images for modern formats.
If you want deeper insights into image optimization, check this guide: Reduce Image Size Online: A Comprehensive Guide.
You can also explore: WebP to JPG Converter Free Online Fast and Easy Guide for format comparisons.
Tips and best practices
Here are some practical tips to get the best results:
- Always start with high-quality PNG images. - Avoid over-compression. - Use progressive JPG for better loading experience. - Remove unnecessary metadata. - Resize images before converting if they are too large.
For example, if your image is 4000px wide but your website only displays 800px, resize it first. This reduces file size and improves performance without affecting quality.
Common mistakes
Many users make simple mistakes that lead to poor results. Here are a few to avoid:
- Using low-quality converters that overly compress images. - Converting images multiple times, which reduces quality. - Ignoring image dimensions and uploading unnecessarily large files. - Not testing images after conversion.
One common mistake is converting logos with transparency. Since JPG does not support transparency, the background may turn white. In such cases, PNG might be the better option.
Conclusion
Converting PNG to JPG without losing quality is not difficult when you follow the right approach. By using reliable tools, adjusting compression settings, and applying best practices, you can maintain image clarity while reducing file size.
This not only improves your website speed but also enhances user experience and SEO performance. Small optimizations like this can make a big difference over time.
Try These Tools
Start optimizing your images today with these tools: