Compress Image to 100KB Without Losing Quality: A Complete Guide
In the digital age, images play a crucial role in web design, marketing, and social media engagement. However, large image files can slow down your website and affect user experience. Learning how to compress an image to 100KB without losing quality is essential for maintaining high performance while ensuring your visuals remain appealing. In this guide, we will explore the importance of image compression, provide step-by-step instructions, and recommend the best tools to help you achieve your goals.
What is compress image to 100KB
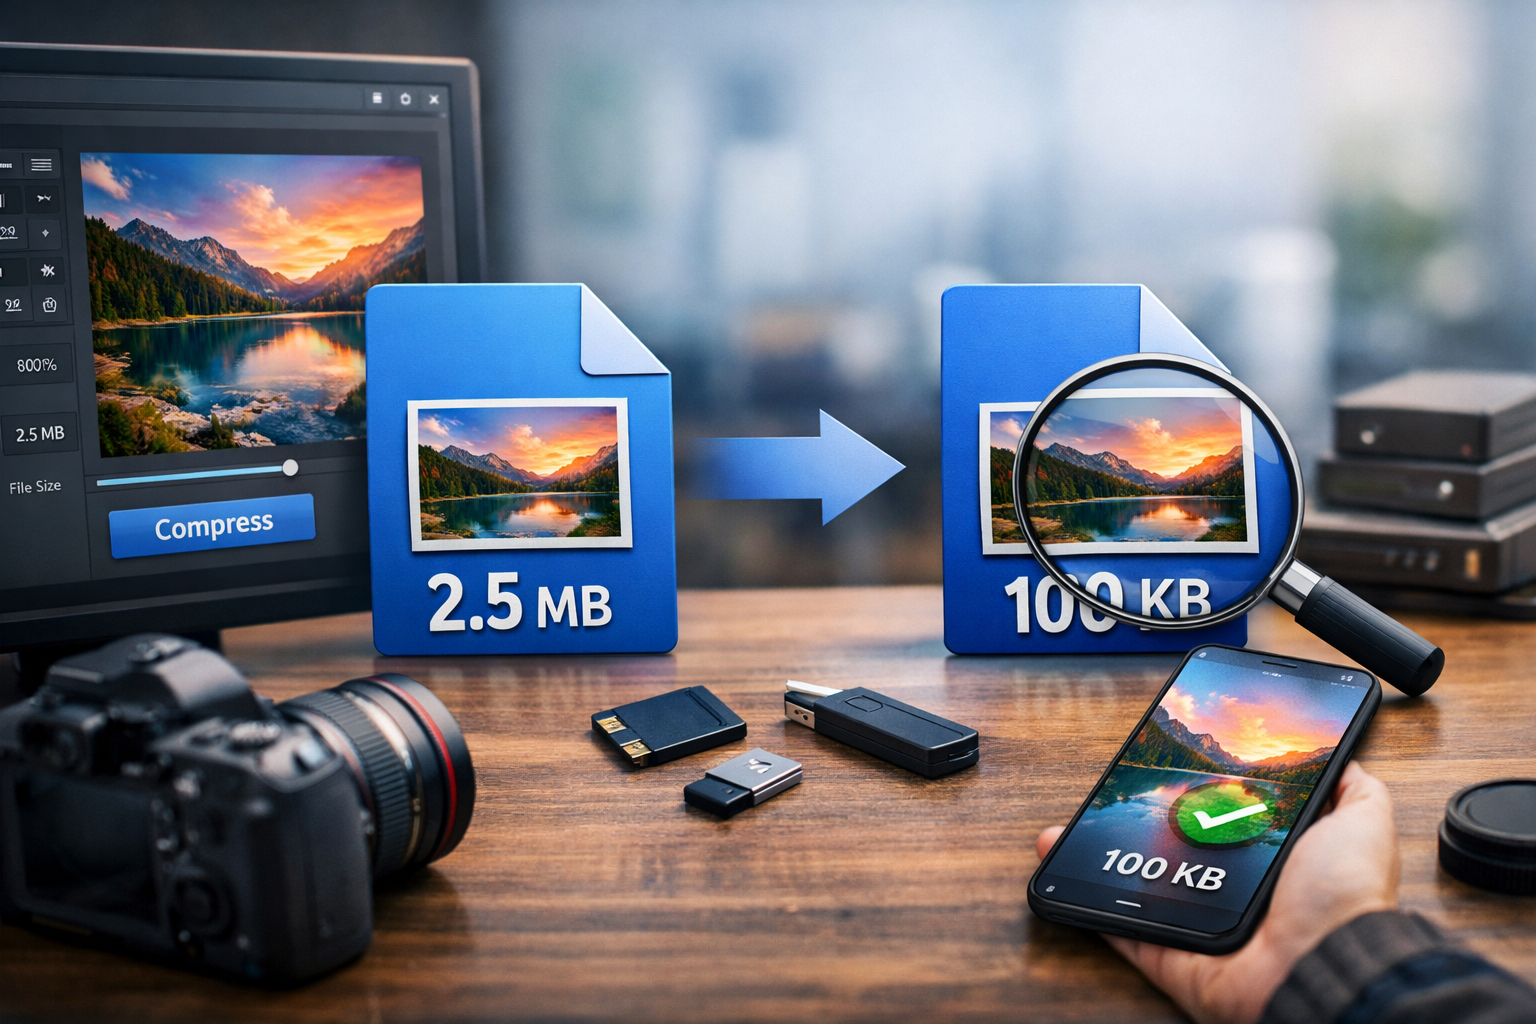
Compressing an image to 100KB involves reducing its file size to 100 kilobytes while maintaining its visual integrity. This process is crucial for optimizing images for the web, as smaller files load faster and take up less bandwidth. Image compression can be lossy or lossless; the former may reduce quality slightly, while the latter maintains the original quality as much as possible.
Why it is important
Image compression is vital for several reasons. Firstly, it significantly enhances website loading speeds, which is a key factor in user experience and search engine ranking. A slow-loading site can lead to higher bounce rates, as users may leave before the page fully loads. Secondly, smaller images consume less storage space, making it easier to manage your website’s resources. Lastly, optimized images improve SEO, as search engines favor faster, more efficient websites. By compressing images to 100KB, you strike a balance between quality and performance.
Step-by-step guide
Follow these steps to compress your images effectively:
- Select your image: Choose the image you want to compress. Ensure it’s in a common format like JPEG, PNG, or GIF.
- Choose a compression tool: Use online tools such as TinyPNG, CompressJPEG, or the ToolsPedia Image Compressor.
- Upload your image: Navigate to the chosen tool and upload your image. Most tools allow for drag-and-drop functionality.
- Adjust settings (if applicable): Some tools offer settings to adjust the level of compression. You may want to experiment with these to find the right balance.
- Download your compressed image: Once the tool processes your image, download the compressed version. Check the file size to ensure it’s at or below 100KB.
- Review the quality: Open the compressed image and compare it to the original. Ensure the quality meets your standards.
Best tools to use
Here are some top tools for compressing images to 100KB:
- ToolsPedia Image Compressor: A user-friendly tool that allows you to compress images easily while maintaining quality.
- TinyPNG: This web-based tool effectively reduces file size for PNG and JPEG images without compromising quality.
- CompressJPEG: A straightforward tool that compresses JPEG images quickly and efficiently.
- ImageCompressor: Offers various compression options and supports multiple file formats.
- ImageOptimizer: A great option for batch processing images, making it ideal for websites with many visuals.
Tips and best practices
To ensure the best results when compressing images, consider these tips:
- Choose the right file format: Use JPEG for photographs and PNG for images that require transparency.
- Resize before compressing: If your image is larger than necessary, resize it to the appropriate dimensions before compression.
- Use lossless compression when possible: This ensures that you maintain the highest quality while reducing file size.
- Test different tools: Not all compression tools yield the same results. Experiment with a few to find the one that works best for your images.
- Backup original images: Always keep a copy of your original images in case you need to revert to them later.
Common mistakes
When compressing images, avoid these common pitfalls:
- Over-compression: Reducing the file size too much can lead to significant quality loss. Aim for a balance.
- Ignoring dimensions: Compressing a large image without resizing can still lead to slow loading times.
- Not testing quality: Always check the compressed image to ensure it meets your quality standards.
- Using outdated tools: Stay updated with the latest tools and techniques for the best results.
Conclusion
Compressing images to 100KB without losing quality is a crucial skill for anyone looking to enhance their website’s performance and user experience. By following the steps outlined in this guide and utilizing the recommended tools, you can achieve optimal results. Remember to keep quality in mind and experiment with different techniques to find what works best for your needs.
Try These Tools
Ready to start compressing your images? Check out the following resources:
- Loan Calculator - Manage your finances alongside your image optimization.
- HTML Entity Encoder/Decoder - Enhance your coding skills while optimizing your visuals.
- CSS Generator - Create stunning styles for your website.
- HTML Table Generator - Organize your data effectively.
- JavaScript Formatter - Keep your scripts clean and efficient.